Typekit makes thousands of high-quality, premium fonts available for use on websites through a subscription service. Learn more at Typekit.com.
How do I integrate Typekit with my theme?
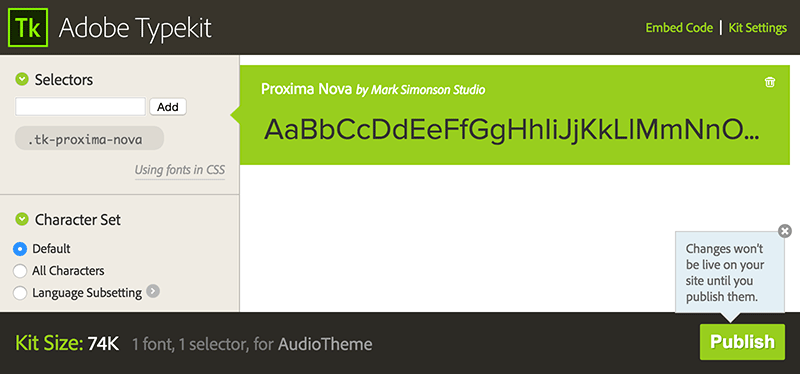
The first thing you’ll need is to sign up for a Typekit account and create a “Kit” for your website. A Kit is just a collection of the custom fonts used on a site.
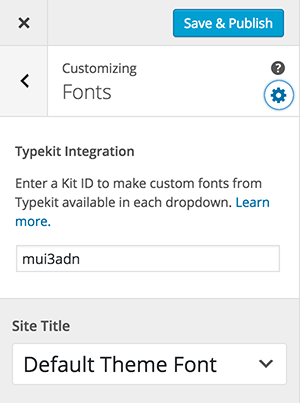
 Once you’ve created a Kit, find and copy the Kit’s ID. Then in your WordPress admin panel:
- Go to Appearance → Customize
- Open the Fonts section in the Customizer
- Click the “gear” icon at the top of the Fonts section to open the options panel
- Enter your Typekit Kit ID into the field
Immediately after entering your Kit ID, the fonts from your Kit will be fetched from Typekit and should be available as choices in the dropdowns below. If you don’t see new fonts in the dropdowns, follow the steps in the Troubleshooting section.
Your Kit ID won’t be saved until you click the Save and Publish button at the top of the Customizer.
Troubleshooting
If you’re having trouble getting fonts from your Typekit Kit to load, there are a few things you can try.
Does your kit have fonts?
It may seem obvious, but make sure your Kit has fonts added to it.
Has your Kit been published?
Changes to Kits are versioned and aren’t publicly available until they’ve been published. Make sure your Kit and any pending changes have been published.
Verify the Kit ID.
Make sure the Kit ID entered in the Customizer matches the Kit ID provided by Typekit. You can find the Kit ID listed next to the Kit name in your account on Typekit.com.
Is your domain whitelisted in the Kit’s settings?
If you can select your Typekit fonts in the dropdowns, but they’re not appearing correctly on your site, you may need to make sure your domain is approved for use with the Kit.
When creating a Kit, you need to specify which domains it will be used on. If your domain isn’t in that whitelist, the fonts won’t load. You can edit existing kits to add more domains if you didn’t specify yours when creating the Kit.
